구글 코랩(Colab)으로 Python 코딩하기

1. 구글 드라이브
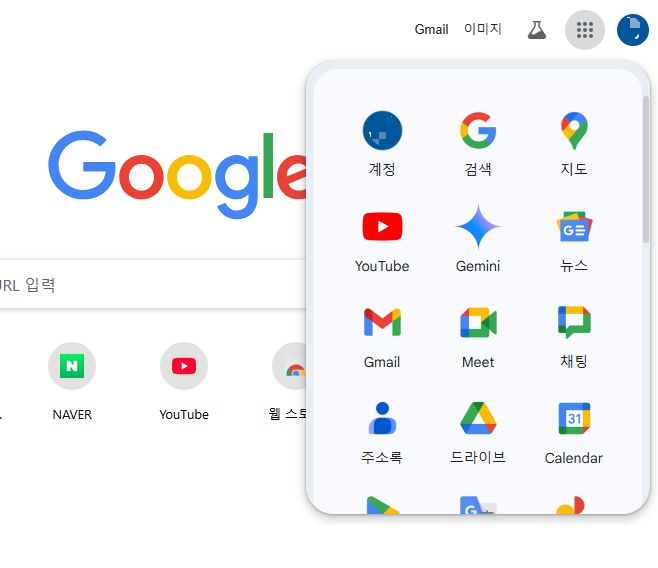
구글에 로그인 후, 오른쪽 Google 앱 클릭 (점 9개)
>드라이브 클릭
2. Google Colaboratory 작업 페이지 생성하기
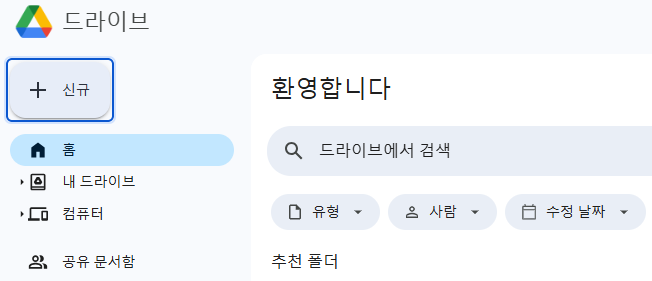
+신규 클릭>더보기>Google Colaboratory 클릭
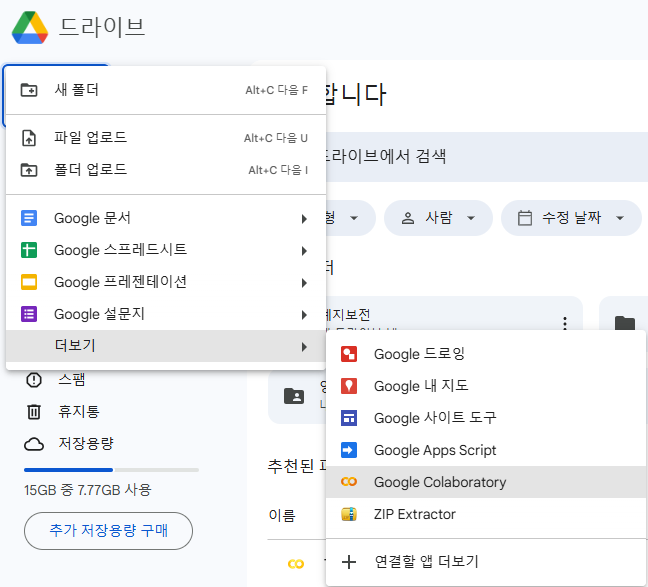
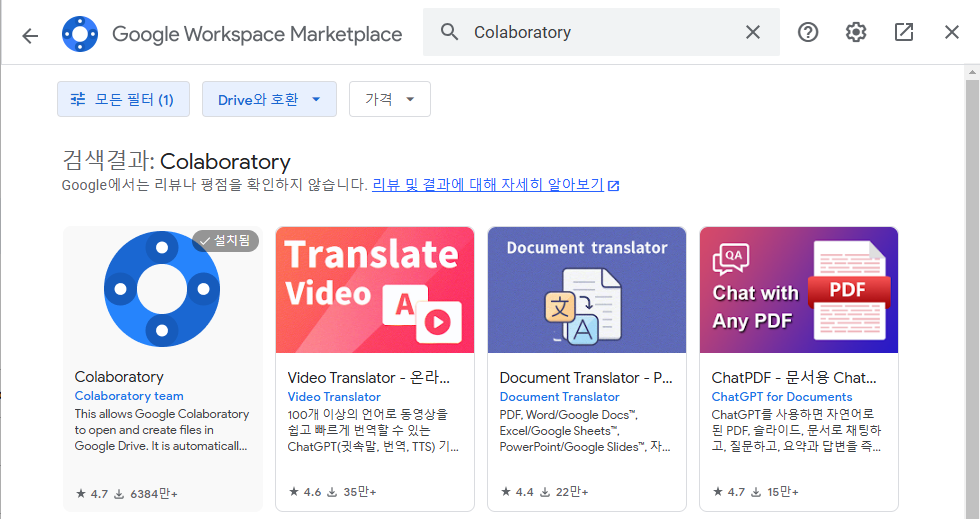
만약 더보기에 Google Colaboratory가 없다면,
'+연결할 앱 더보기' 클릭 후, Colab검색하여 'Colaboratory'를 설치해준다
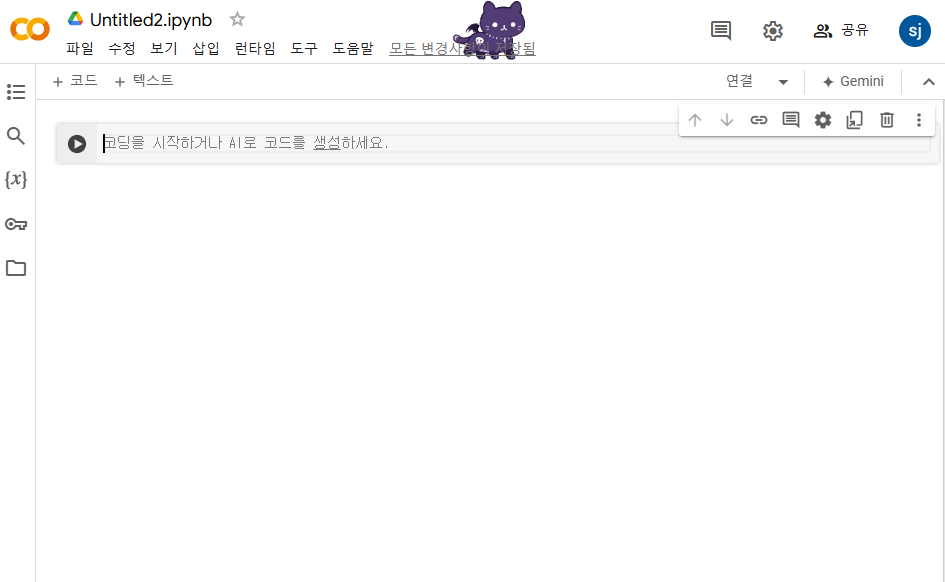
아래와 같이 주피터 노트북 형식의 에디터파일이 열린다
3. Colab에 구글 드라이브 연결하기
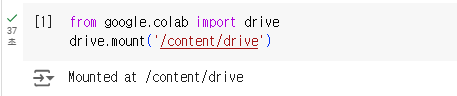
아래 코드를 입력 후, Ctrl+Enter 를 눌러 실행
from google.colab import drive
drive.mount('/content/drive')
팝업창이 뜨면,
Googld Drive 연결>계정 선택>계속 클릭

아래와 같이 Mounted at /content/drive 가 출력되면 정상 연결됨 (37초 소요됐다)
4. 구글 드라이브로 압축파일 풀기
위 코드로 구글 드라이브에 마운트가 완료되었다면,
다음 명령어를 입력하고 Ctrl+Enter로 실행하여, 압축풀기
ex) 구글드라이브/내 드라이브/폴더명 으로 이동하여 파일명.zip 파일 압출 풀기
%cd /content/drive/MyDrive/폴더명
!unzip -qq "/content/drive/MyDrive/폴더명/파일명.zip"

셀이 실행되면, 구글 드라이브 내에 압축이 풀린 폴더가 생성된다
+ 구글 코랩 기본 설정
1. 이펙트 설정하기
맨 위 오른쪽 톱니바퀴>기타>파워레벨 및 모드 설정>저장

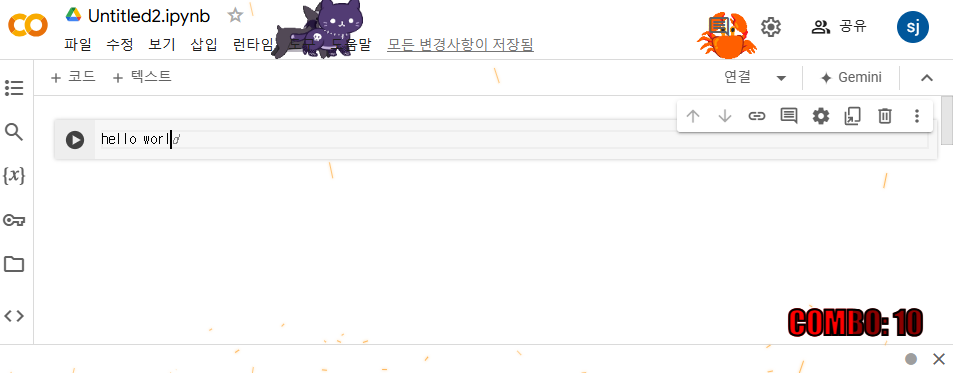
파워레벨에 따라 아래처럼 코드를 입력할 때, 효과가 나타난다
코기모드, 게모드, 아기고양이 모드를 선택하면 노트북 창 위에 귀여운 코기, 게, 고양이가 돌아다닌다
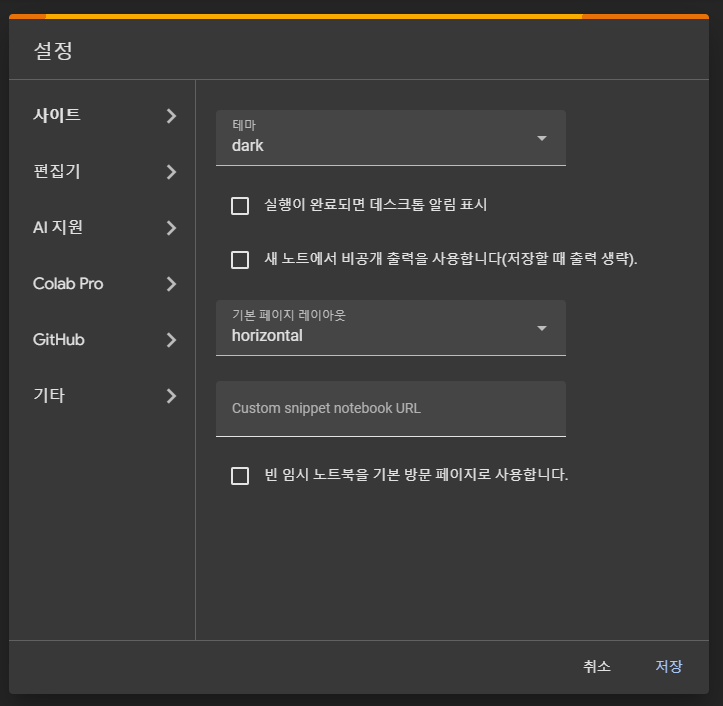
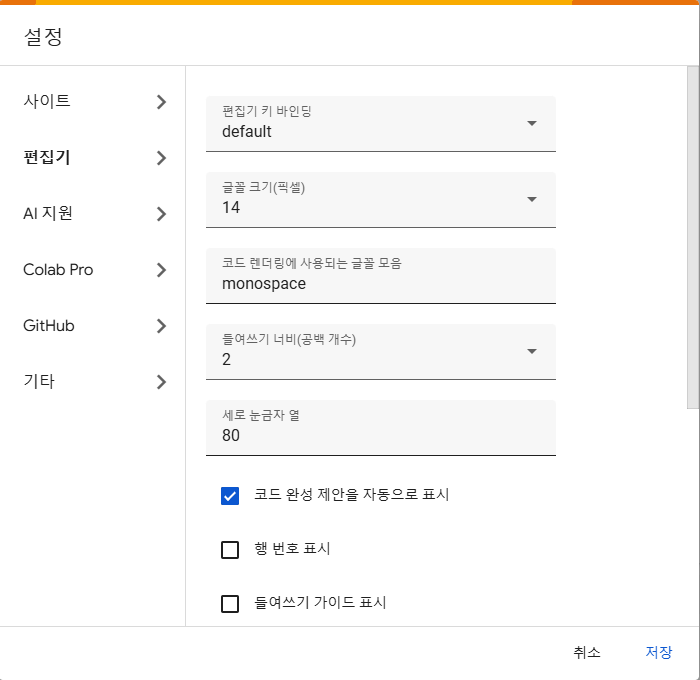
2. 테마설정
위쪽 메뉴 표시줄에서 도구>설정
사이트에서 테마, 편집기에서 폰트 등을 변경할 수 있다
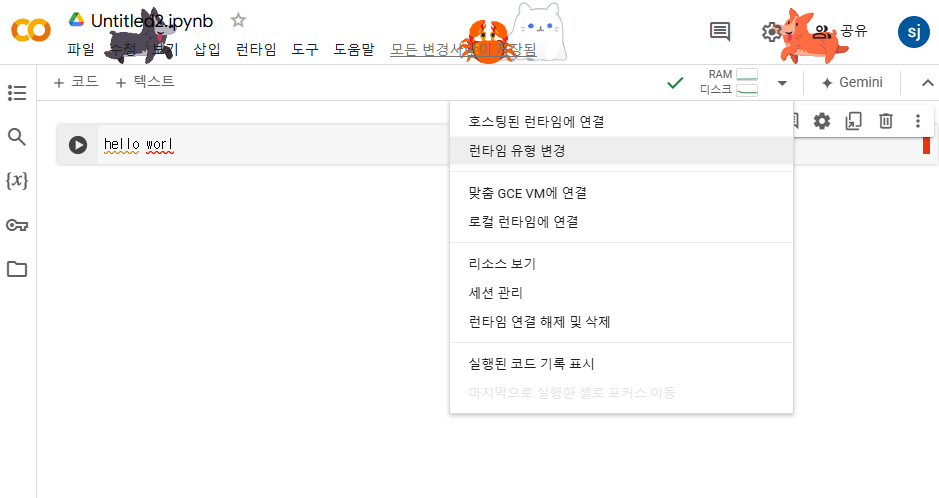
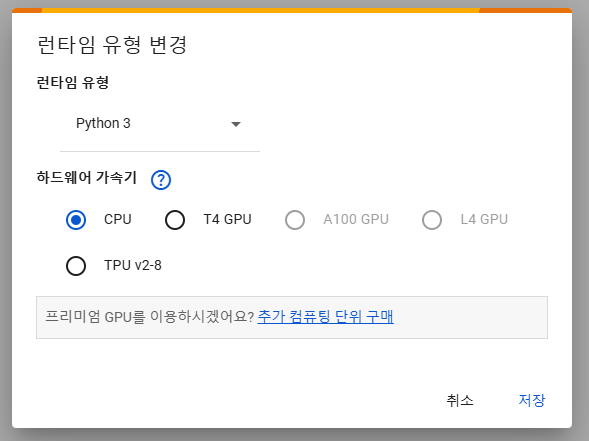
3. 런타입
오른쪽 ▼(아래 화살표) 클릭>런타임 유형변경
하드웨어를 CPU, GPU, TPU 중 선택할 수 있다 (비활성화 항목은 유료 옵션)
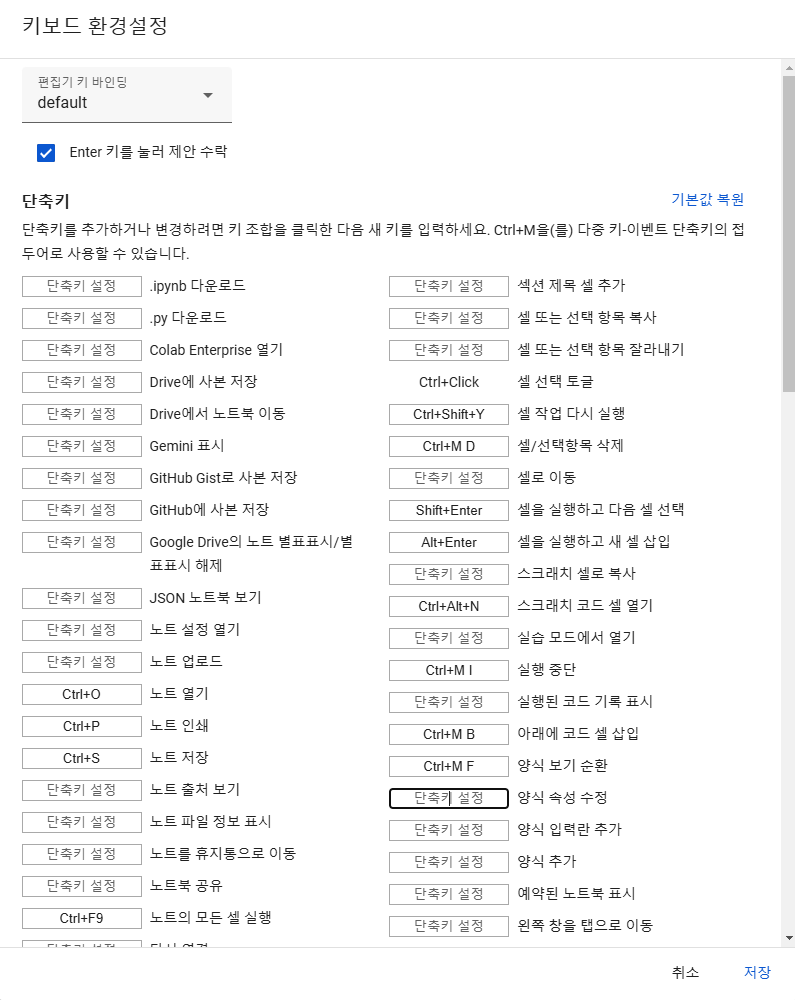
++ 단축키
'위쪽 메뉴표시줄>도구>단축키' 에서 단축키 확인 및 직접 넣을 수 있다
● 셀 실행
Ctrl + Enter : 해당 셀만 실행
Shift + Enter : 해당 셀 실행 후, 다음 셀로 커서 옮겨감
Alt + Enter : 해당 셀 실행 후, 아래에 새 셀 생성
● 셀 생성 및 삭제
Ctrl + M A : 위에 셀 생성
Ctrl + M B : 아래에 셀 생성
Ctrl + M D : 셀 삭제
● 주석 및 마크다운
Ctrl + / 주석
Ctrl + M M : Markdown 셀로 변경
Ctrl + M A : 코드 셀로 변경
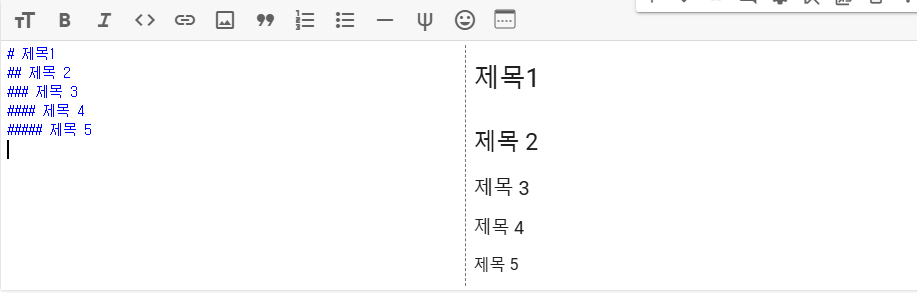
마크다운 셀에서 '#' 입력 후 글자입력
#의 개수에 따라서 글자 크기가 달라짐
'개발기록 > python' 카테고리의 다른 글
| [python] 주파수 신호 분석 방법론 1 - FFT (Fast Fourier Transform) (0) | 2024.11.24 |
|---|---|
| [python] selenium-stealth 셀레늄 감지 방지 (구글 크롬) (1) | 2024.11.15 |
| [python] Selenium 요소 클릭, 선택 (checkbox, radio button, select box) (0) | 2024.10.14 |
| [python] 난수 생성하기 random의 모든 것 (0) | 2024.09.22 |
| [python] python GUI 모듈 tkinter (text, input, radioButton, button) (0) | 2024.09.21 |


댓글